Camera room · Full-release controls
How to take the right photo in Photomaly
Start with the requested orientation and output, frame the subject, use the camera prompts, then move the result into the order's processing route.
Read the request before you frame
Orders can show size, quantity, and orientation. Use those fields as your first check: do not take a portrait shot when the order calls for landscape, and do not assume one photo will work for every customer.
- Check first
- Size, quantity, and orientation
- Then frame
- The requested subject or scene
- After the shot
- Use the route the order gives you
Camera prompts in the viewfinder
The camera UI shows the core actions: click to take a shot, use the mouse wheel to zoom, and press R to rotate. Check the live UI if a later build changes a prompt.
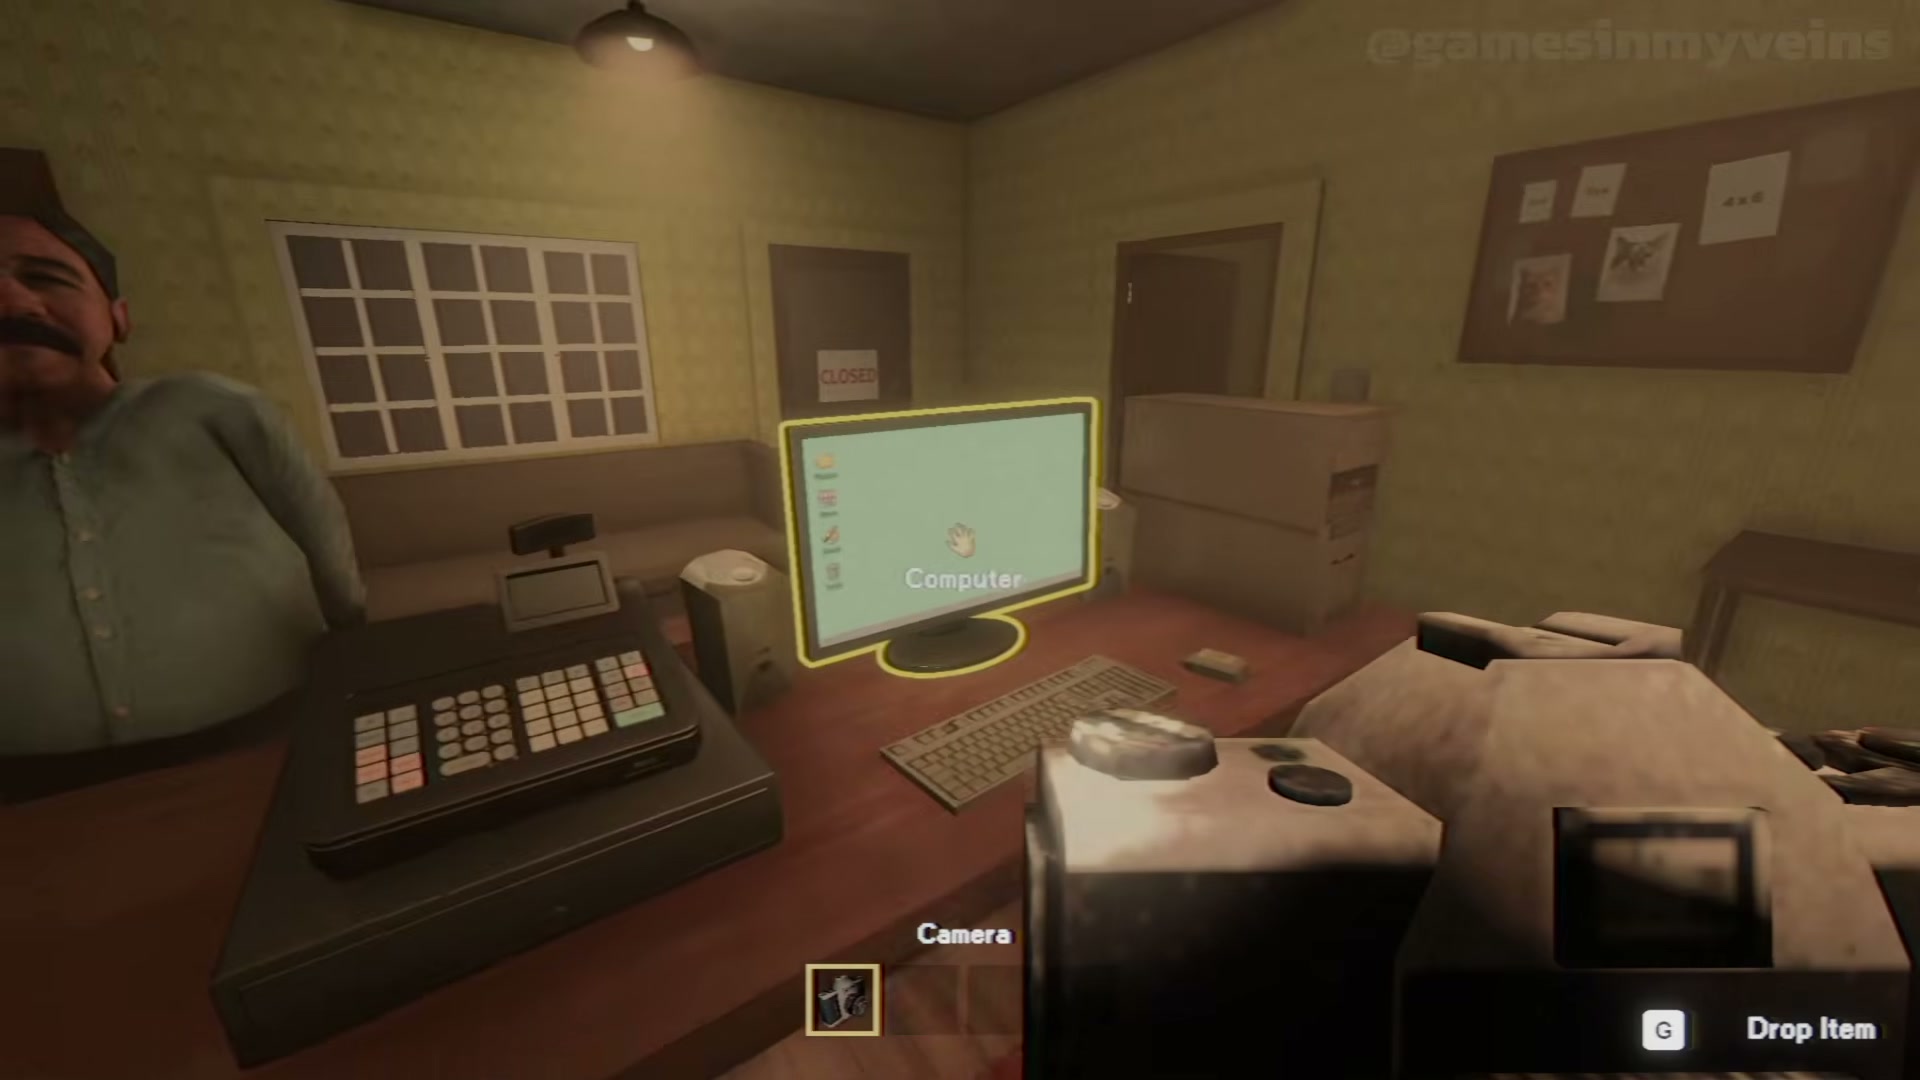
Frame for this order
Aim with the mouse, zoom only as the request needs, and rotate when the visible orientation requires it. Customer poses and studio setups can change, so match the order in front of you rather than a remembered composition.
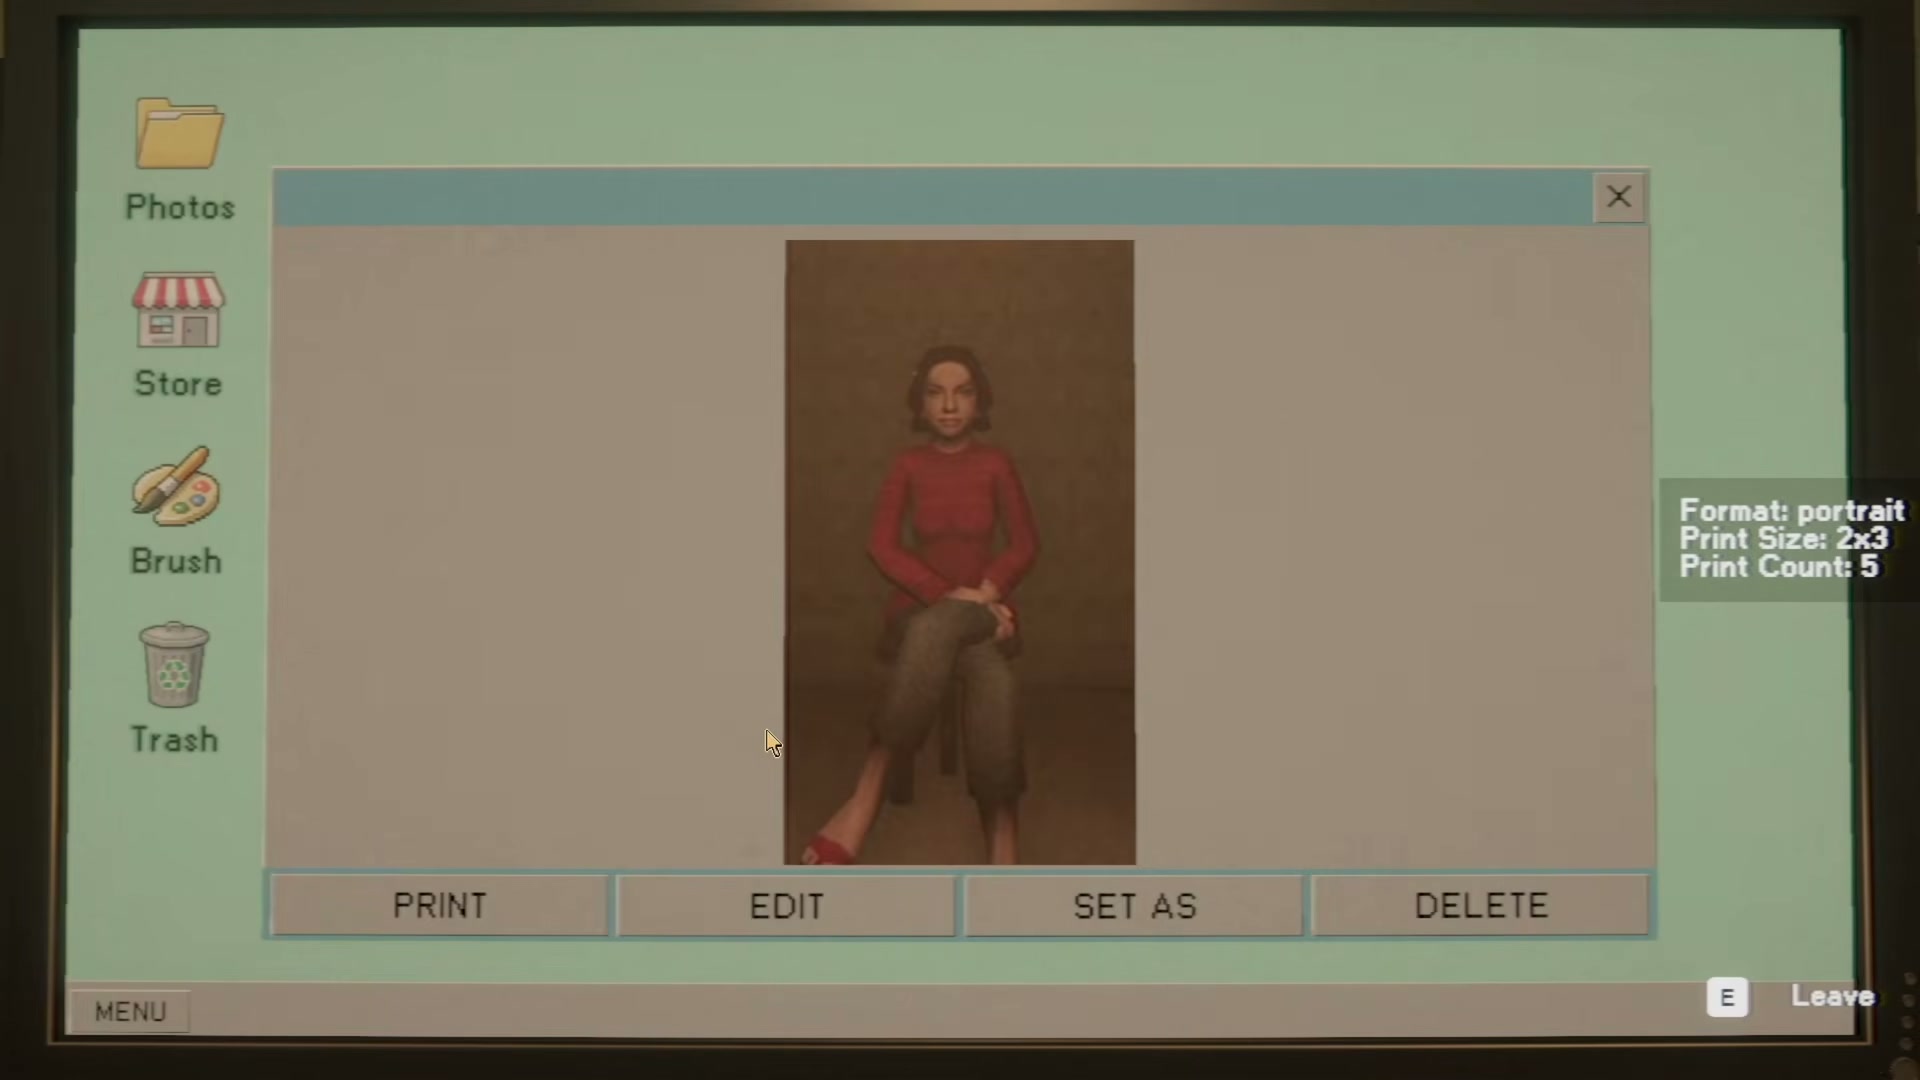
Move from the shot to the finished order
A camera capture is only the first checkpoint. Continue with the current request's print setup, USB, or film-roll workflow; then compare the final output with the visible size, count, and orientation before delivery.