Photomaly tutorial · Start here · No spoilers
Photomaly tutorial: your first studio shift
This beginner tutorial starts with the order, then follows the stations that take it from photo to finished delivery. The live prompts remain the best check for a specific button or interaction.
1. Use the order as your checklist
Customers arrive with their own requests, quirks and stories. Read the request before touching the equipment. The visible fields include size, quantity, and orientation, so do not assume a photo accepted for one customer will satisfy another.
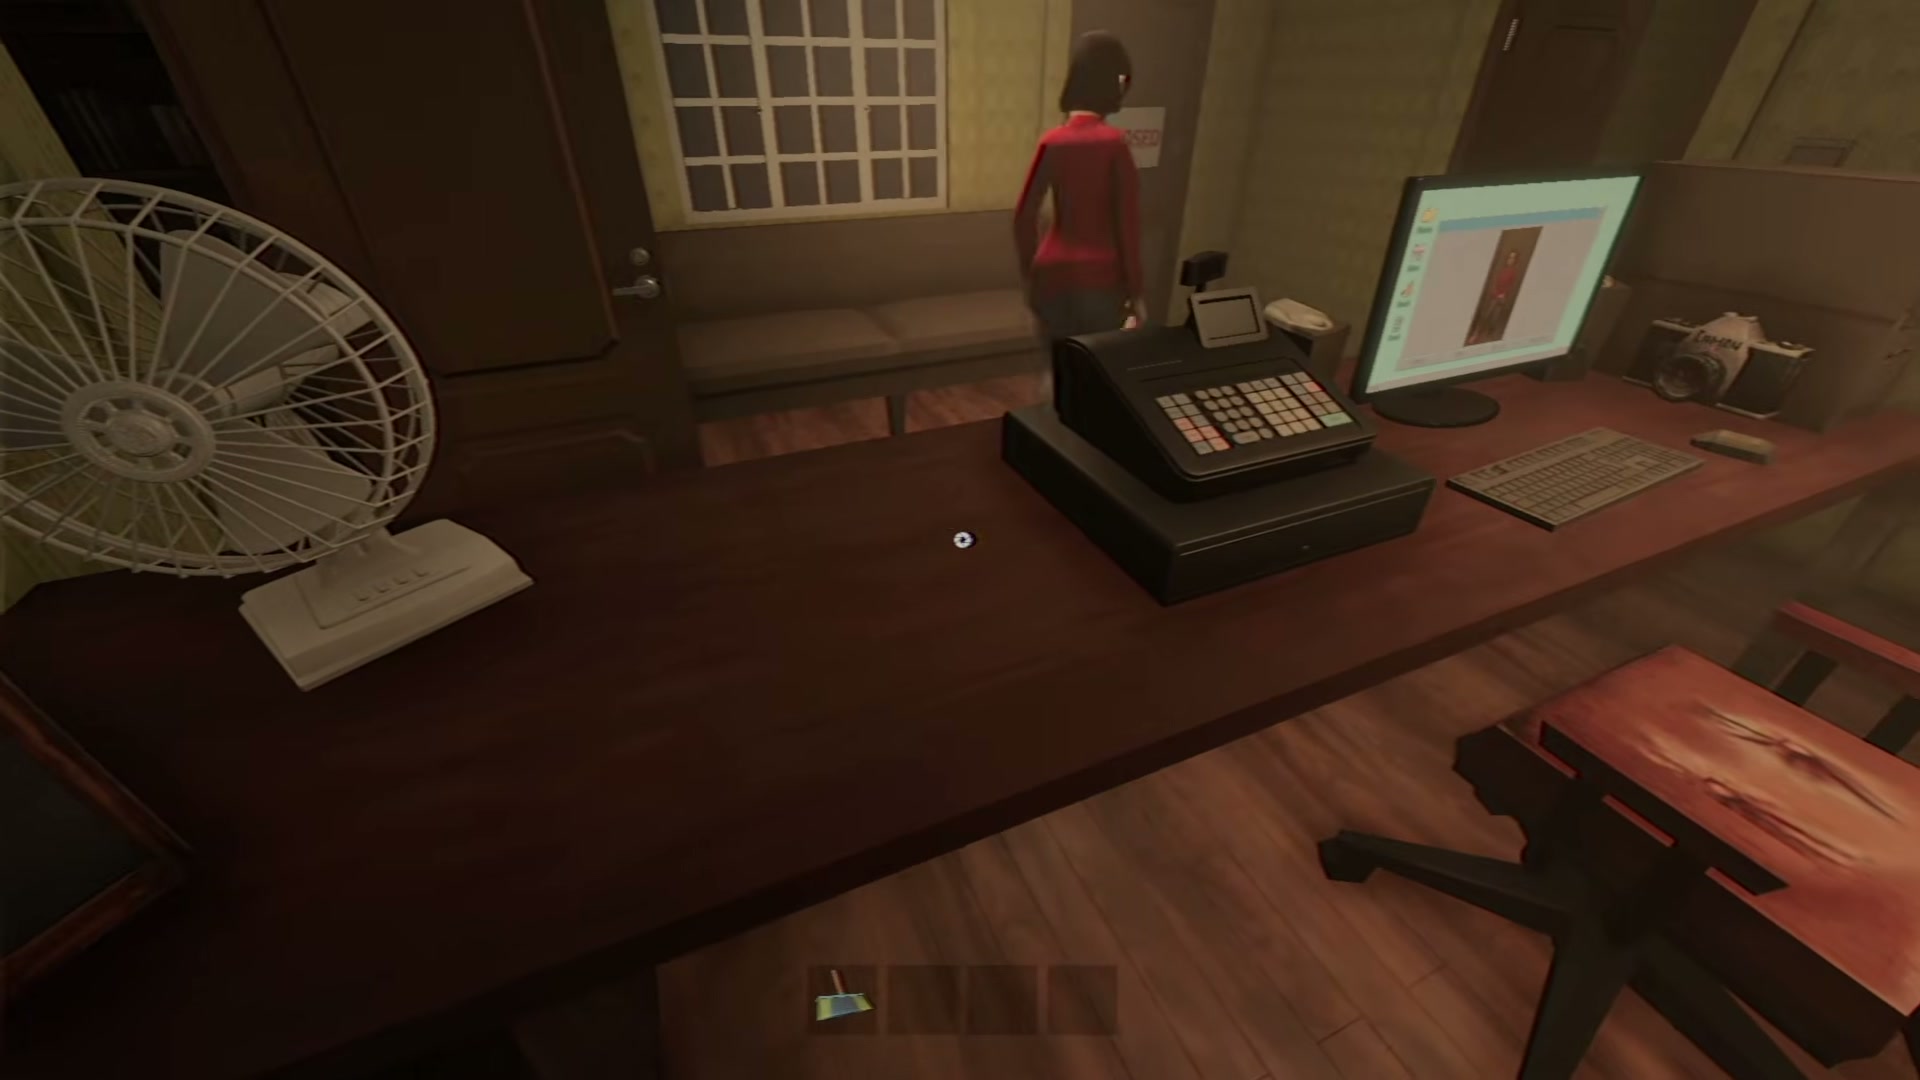
2. Follow the route the order gives you
Orders can ask for a new camera photo, customer-provided USB material, or a film roll that must be developed before printing. Treat capture, processing, and delivery as separate checks, then follow the station prompts.
3. Keep the next order moving
Paper, envelopes, and ink are part of the full-release studio workflow. Check the stock shown in your game before a print-heavy request. Prices and a universal buying order are intentionally left out until they are documented in a repeatable test.
4. Buy for the problem in front of you
Official copy says profits unlock and buy better equipment and setups, but it does not publish a universal best order. Read the in-game description and spend against the constraint you can see; upgrade names, prices, and rankings stay out until tested.
5. Know the current support notes
Steam lists Full Controller Support, and the first official quickfix specifically addresses controller input interfering with mouse dragging. Update before diagnosing mixed-input problems.
Leave the spoilers for later
The walkthrough, anomaly, escape, and ending pages contain the documented story details and are clearly spoiler-marked. A full key map, exact photo validator, complete order list, supply prices, and upgrade tree remain unpublished until they are documented in a repeatable release test.