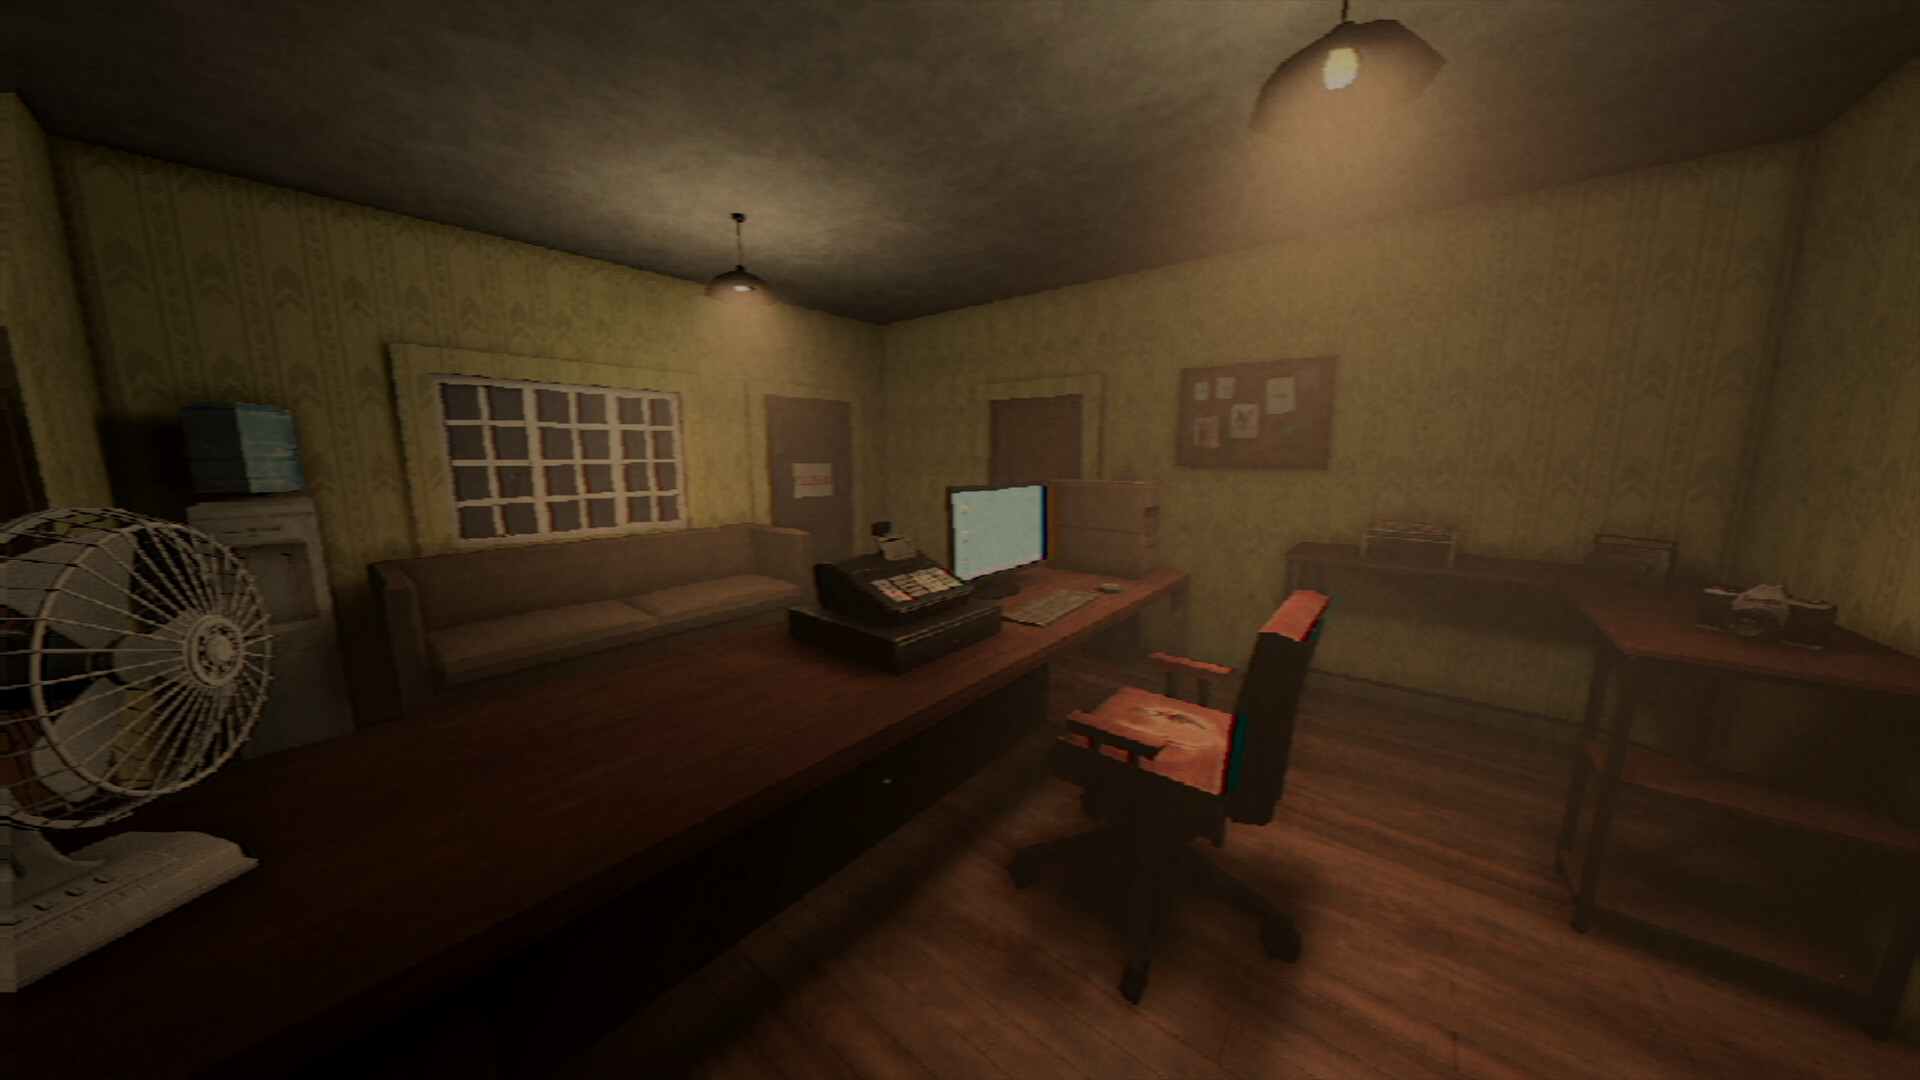
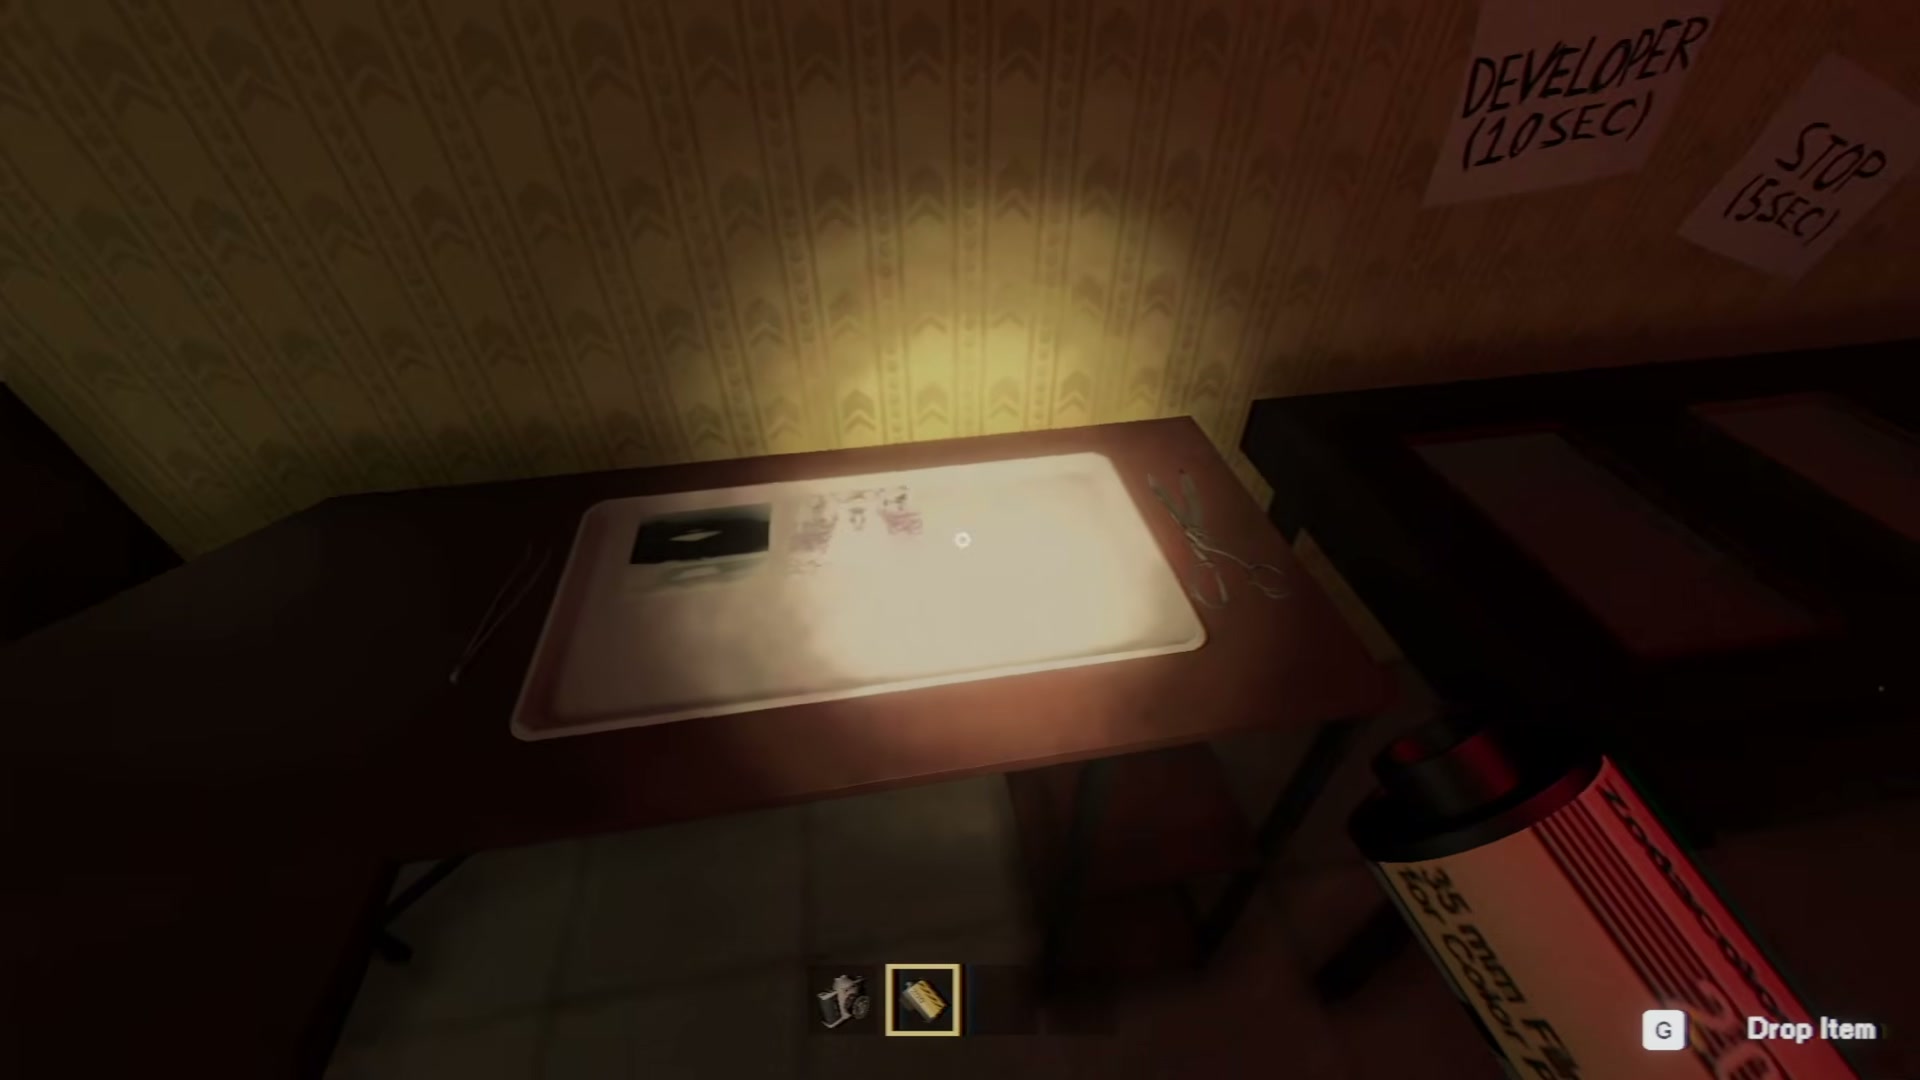
The darkroom sequence
The tested Day 2 tutorial follows one fixed working order. Complete each station before moving the roll on; the drying rack is part of the workflow, not a shortcut around it.
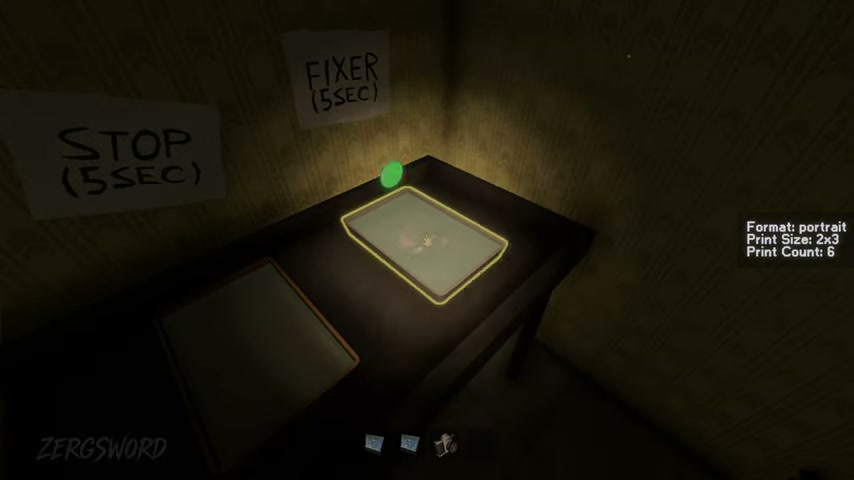
The Stop and Fixer labels alongside a visible film-order overlay; third-party gameplay reference frame from Zergsword’s video.
User-tested film-development route
| Step | Station | Action |
|---|---|---|
| 01 | Cutting Station | Cut until the roll is used |
| 02 | Developer | Develop for about 10 seconds |
| 03 | Stop Bath | Stop for about 5 seconds |
| 04 | Fixer | Fix for about 5 seconds |
| 05 | Drying Rack | Wait for the film to dry |
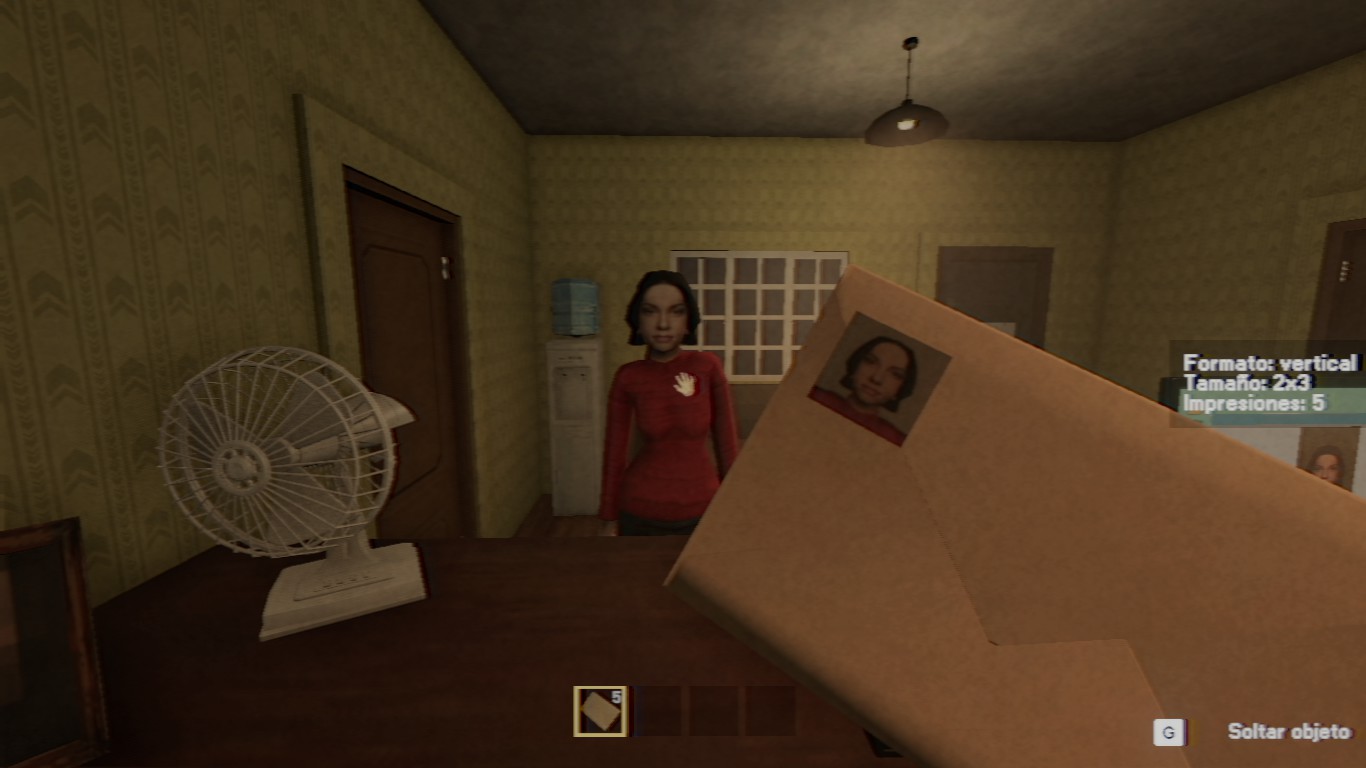
| 06 | Envelope | Package the finished set |
The Day 2 film request
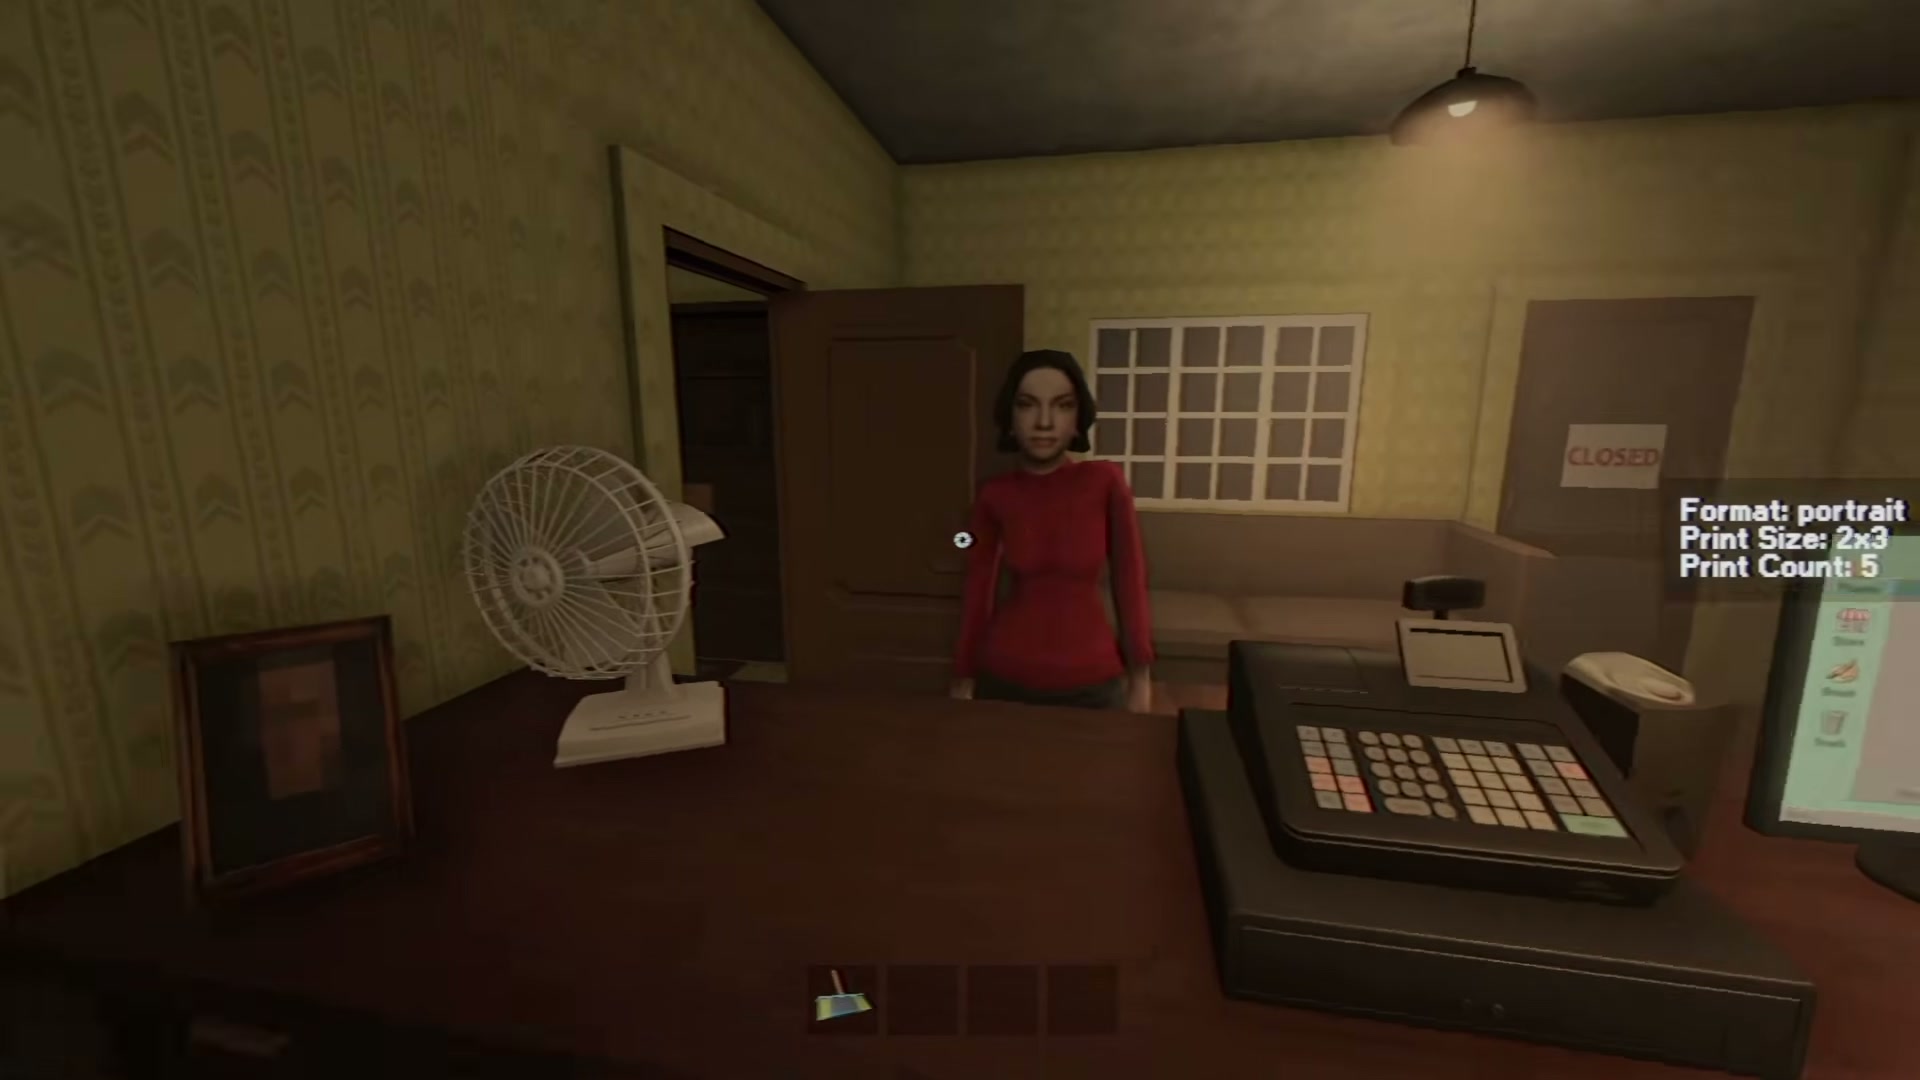
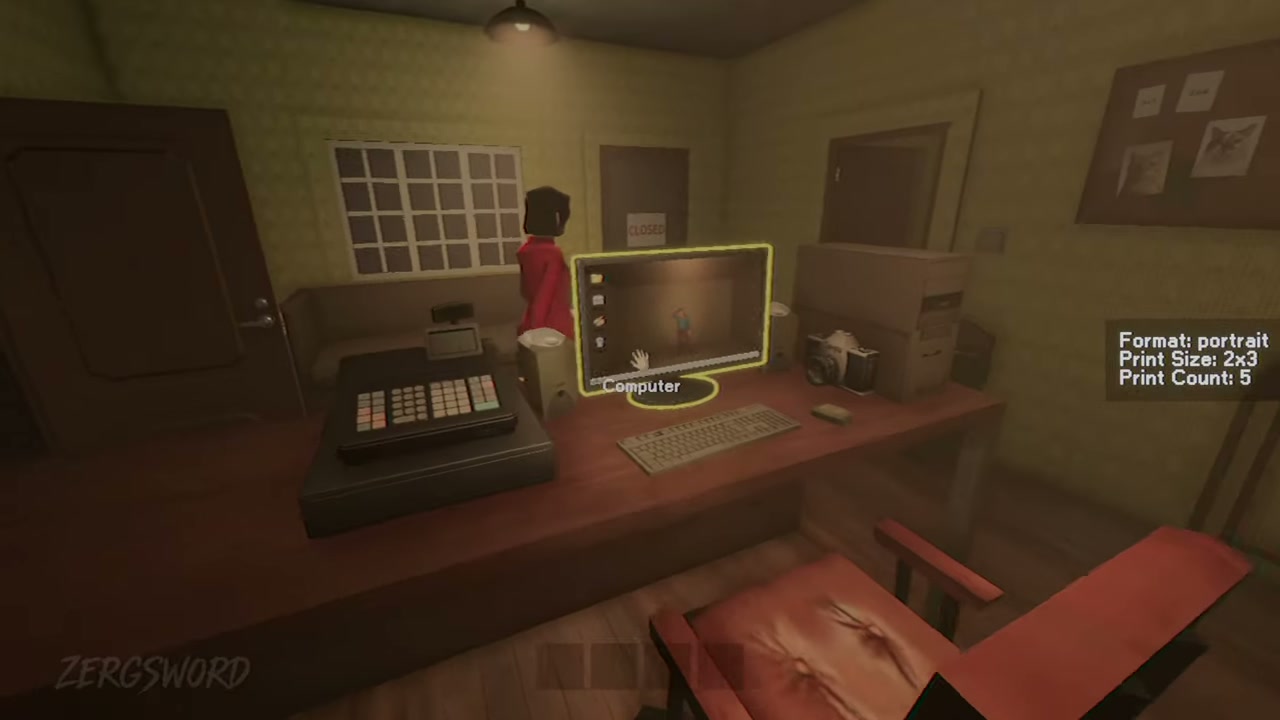
The tested darkroom request records a portrait 2 × 3 colour job with six prints. Its important lesson is the route: film needs development and drying before the envelope stage.
| Specification | Detail |
|---|---|
| Type | Film |
| Format | Portrait |
| Print size | 2 × 3 |
| Print count | 6 |
| Output | Colour |
Keep rolls from crossing
The Day 2 route can place multiple rolls in play: the contact’s roll, a customer’s New Year planner roll, a journalist’s roll, and a grandparents’ keepsake roll. Keep them separated from the moment they reach the drying rack.
- The contact’s own roll is stored after development; do not hand it to a customer.
- Develop the journalist’s roll out of sight.
- If a customer reacts to what appeared in a developed photo, do not describe what you saw.
What Frames means here
Frames belongs to a film request, not to the studio’s decorative wall frames. Follow the live request for its exact number; the tested records do not turn that field into a universal reward or acceptance formula.